
On the surface, printing may seem straightforward. After all, you’re pushing patches of ink onto paper! However, suppose you’ve studied the process closer. In that case, you’ll realise the sheer amount of options available in different printing styles and materials. Card, photographic paper and plastic require unique processes for an impressive finished result. The possibilities are endless, and the only limit is your imagination.
Regardless of your ideas and expectations for the outcome of your printing, it would help if you considered whether you’d like to incorporate bleed in your project. And if you’re wondering, ‘what is bleeding?’ or ‘do I need it?’, then take a deep breath and continue reading. Here’s an introduction to bleed in printing.
What Does Bleed Mean In Printing?
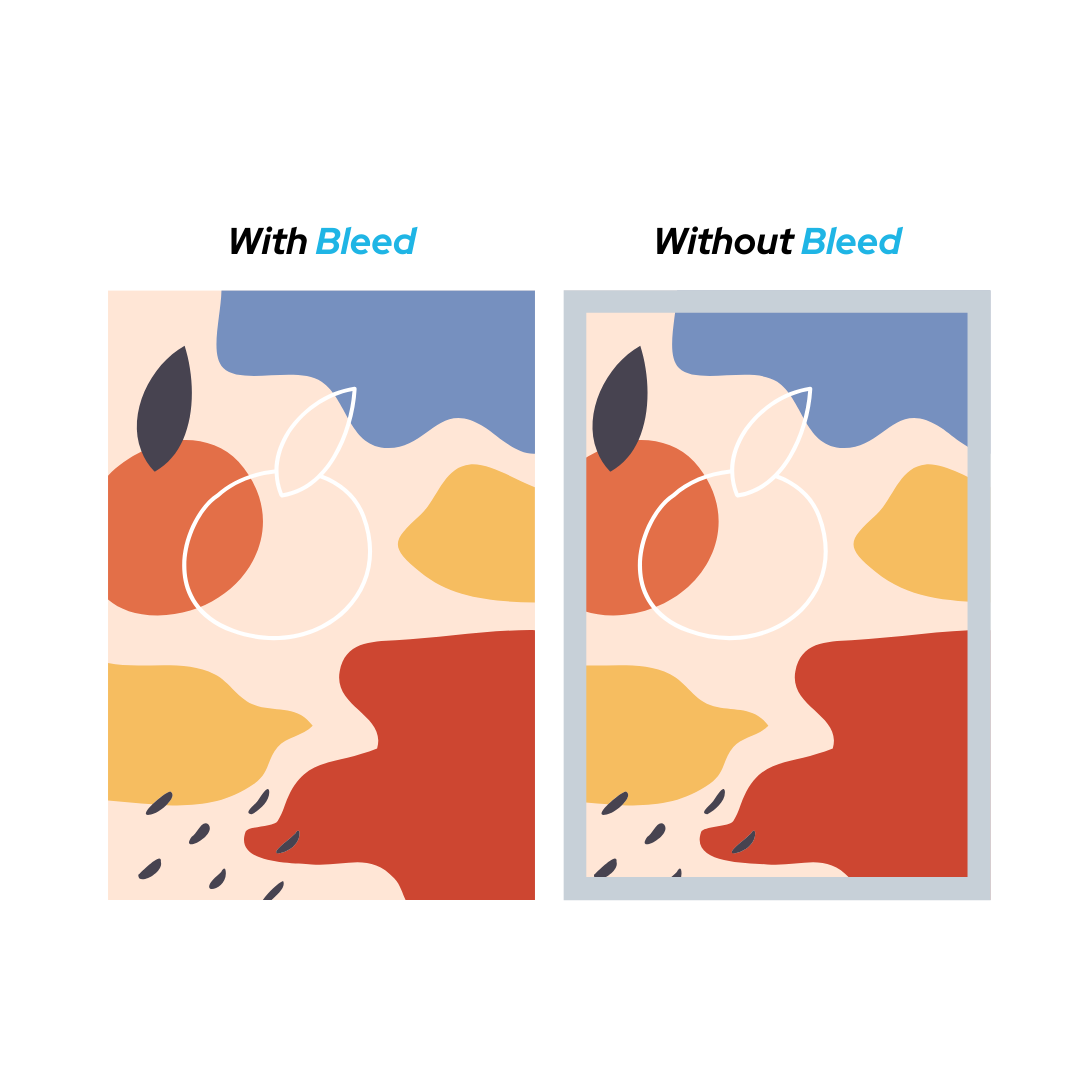
Your print bleed is ink on the page that reaches beyond the edge of your digital design. Bleed exists to ensure you won’t face unwanted white borders around your custom signs or flyers after trimming them to the desired size. A 3mm bleed is the very least recommended on any printed product, regardless of the dimensions or the shape.
Manually check your bleed dimensions before you print any project. If you’re using Microsoft Word, Adobe Photoshop or PowerPoint, you’ll need to make your canvas 6mm larger from the beginning. You can then treat the additional space as a 3mm bleed margin around the border. A5 paper is 148mm by 210mm, so your project should be 154mm by 216mm with the additional space incorporated. You’ll never face unsightly gaps again if you demonstrate careful forethought.

Do I Always Need To Leave Bleeds While Printing?
If your project incorporates a photograph you’d like to display without white borders, you’ll need a bleed. Improperly proportioned prints look less professional, so you may be wasting your money and effort on marketing without achieving clean edges. However, you won’t need to consider a bleed if your image or design uses a white background! Everything will blend anyway, so you needn’t alter dimensions.
What Do I Need To Look Out For With Bleeds?
Up until now, we’ve only recommended a 3mm bleed margin. That space will suffice for documents up to 45cm by 60cm. Anything more significant than 45cm by 60cm will require a more substantial bleed, and we recommend 12mm to be safe. Remember you dictate your bleed margins, so be sure they’re adequate for any printing you complete.
We recommend running a test print with traditional printer paper before committing to your dimensions if you’re working with expensive material. Bleeds are adjustable, and you may determine you need wider margins than usual for a particularly awkward image.
A Checklist Of Common Mistakes To Avoid In Printing:
Forgetting to consider bleed space is only one of the mistakes you can make while printing. Impressive designs take lots of consideration and careful planning, so we’ve compiled a checklist to run through before you throw money at bulk materials and buckets of ink.
- Check for typos before you print text. Double, triple and quadruple assess your work.
- Reassess your dimensions before you print. It’s easy to mistype by a centimetre or two.
- Delete guidelines that aren’t supposed to feature in the project.
- Apply a colour palette to your design. Too many tones and hues are distracting.
- Utilise high definition images that can convert to CMYK.
- Consider the shade of your material. If your base isn’t white, you’ll need to balance the colour.
Why Not Trust The Professional Printers?
The best news we can deliver is you needn’t stress over calculating bleed dimensions alone. At Screentec, we’re here and happy to help with any printing project. Whether your team plans to create outdoor display stands or promotional posters, you can contact us for valuable support.
Recent Comments